d/D for all

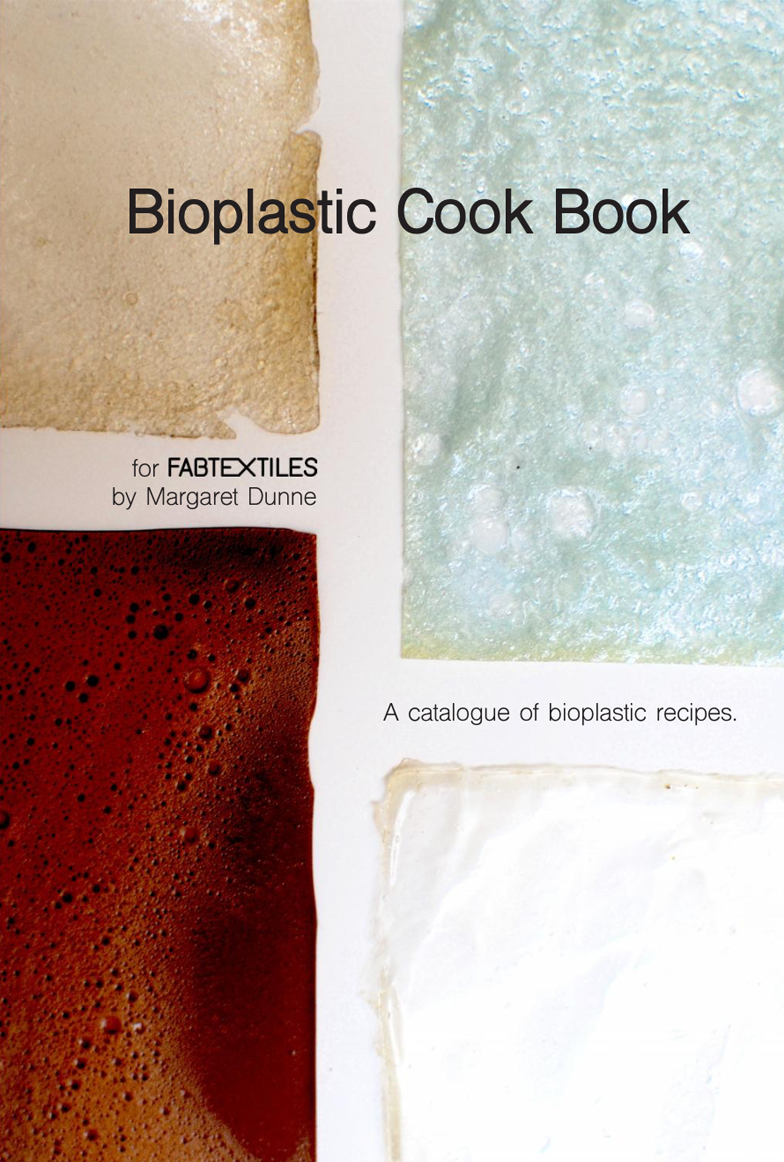
agar plasticwhether you’re a design professional, hobbyist, or someone who just wants to consume responsibly, the ideas behind design for decomposition can apply to anyone.
d/D is all about reducing and one day, hopefully, eliminating waste. the principles to follow are simple and beyond that, you can explore making projects on this page that will allow you to deepen your understanding of biomaterials in a fun, accessible way.
d/D asks that you consider what will happen to products post-use
repair & reuse when you can but look for products that are compostable or biodegradable
make it

if you have a kitchen, you can experiment


(sM) Studio Materials
studio materials can be made in a standard household kitchen. these materials are non-toxic and great for children to learn and explore plastic alternatives.
there are no specialty tools or equipment required.
you’ll need:
pan
whisk
scale
measuring cup
non-stick cooking sheet
additional supplies to experiment with:
cookie cutters
natural dyes (turmeric, avocado pits, etc)
food dehydrator

credit yujin hwangcredit carolina puppe credit kevin tangwhat can you make?
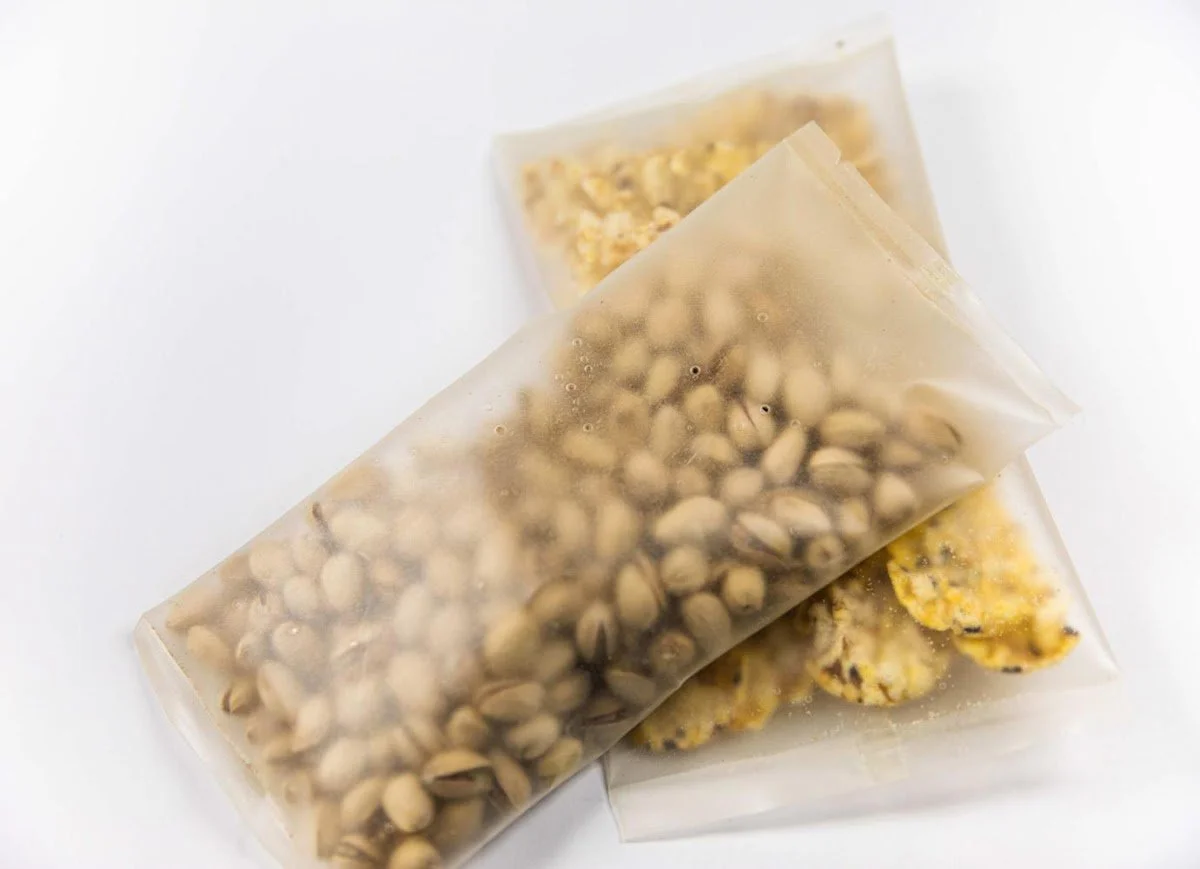
jewelry, packaging, and composite materials - see below for recipes and links to more inspiration.
the recipes below will guide you in making your own biomaterials. they were included here because of their ability to dissolve when placed in boiling water. for more recipes, follow the links below.
recipes
-
glycerine (g) 2.7
water (ml) 40
agar (g) 1.6
soap (ml) 6
cook glycerine, water, & gelatin over med heat, stirring until boiling. Once boiling, add dish soap & whisk until it becomes foam (bubbles will appear over the surface). pour mixture into a form or onto a non-stick baking sheet & let cure for 24hrs.
-
glycerine (g) 4
water (ml) 60
gelatin (g) 12
cook glycerine, water, & gelatin over med heat, stirring until boiling. Once boiling, remove from heat & remove bubbles with a spoon. this will give the surface a glossy, smooth finish. pour mixture into a form or onto a non-stick baking sheet & let cure for 24hrs.
-
glycerine (g) 6
water (ml) 60
gelatin (g) 6
potato starch (g) 6
cook glycerine, water, gelatin, & starch over med heat, stirring until boiling. keep stirring until the mixture thickens and turns white then remove from heat. pour mixture into a form or onto a non-stick baking sheet & let cure for 24hrs. depending on humidity, it can take 4 days to fully cure.
-
glycerine (g) 6
water (ml) 60
gelatin (g) 6
potato starch (g) 6
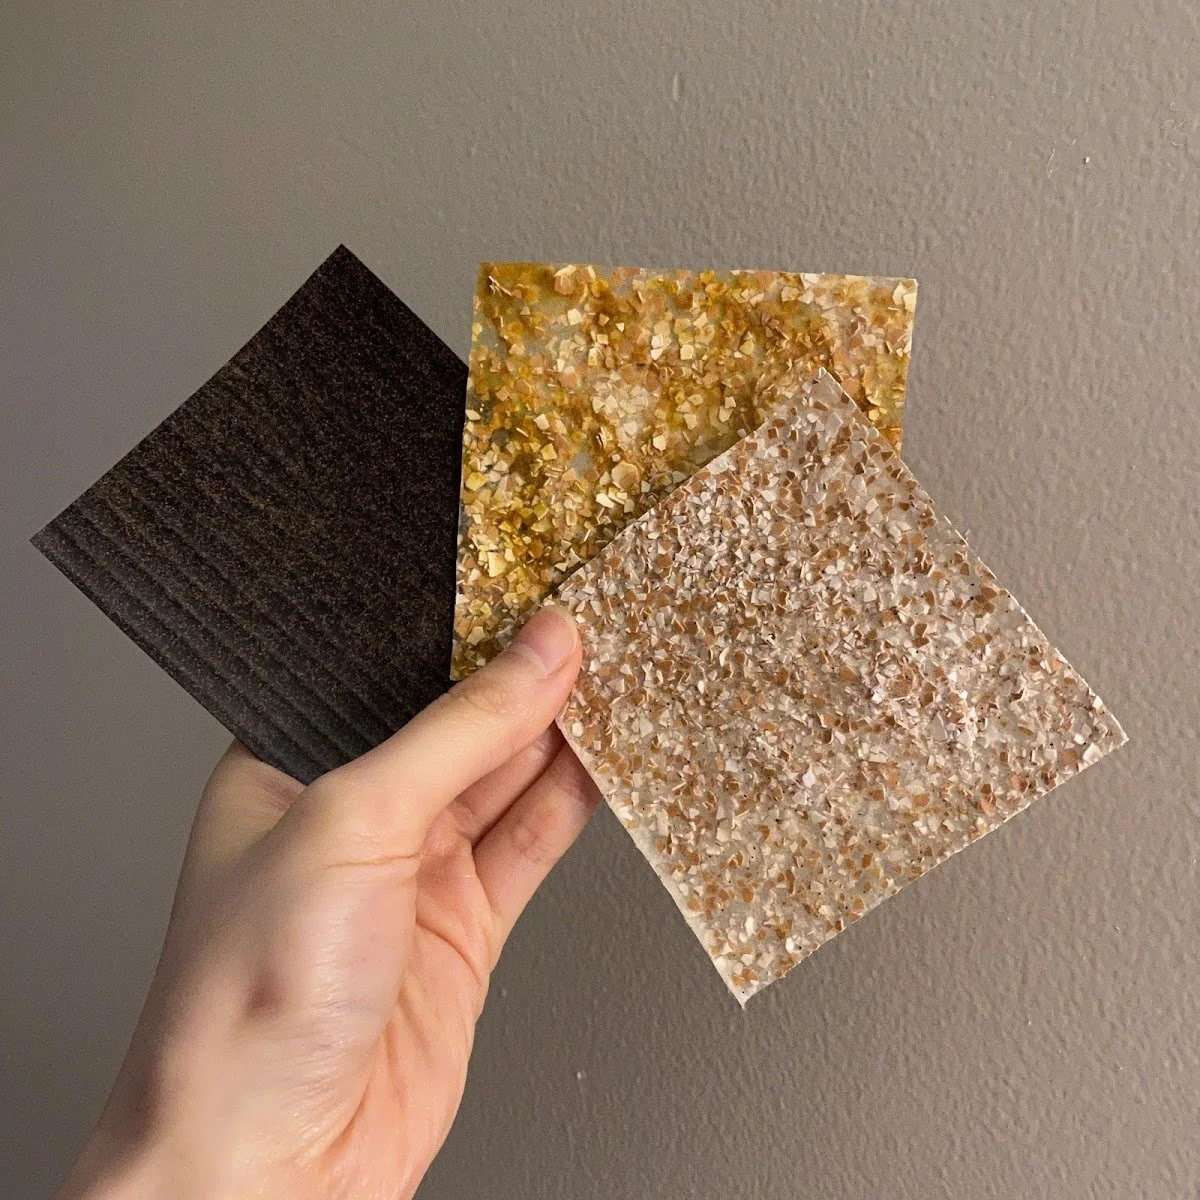
this is the same recipe as previous except try adding elements like coffee grounds, eggshells, or ground pistachio shells.
-
glycerine (g) 3
water (ml)40
agar (g) 2
cook agar, water, & gelatin over med heat, stirring until boiling. Once boiling, remove from heat & remove bubbles with a spoon. this will give the surface a glossy, smooth finish. pour mixture into a form or onto a non-stick baking sheet & let cure for 24hrs. agar plastics are prone to shrinking and cracking so add slightly more glycerine to prevent.
gelatin plastic dissolves immediately when submerged in 100º water
starch plastic + coffee grounds, starch plastic, & gelatin plastic